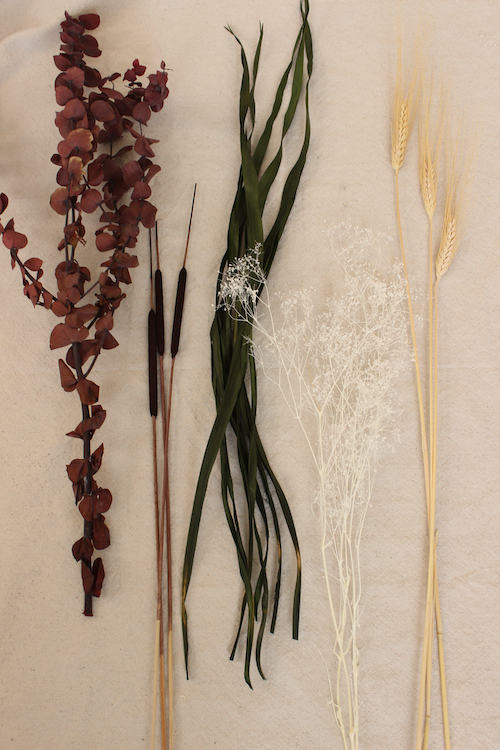
Jan 8, 2013 |

diy project: kate’s uncommon valentine

What You’ll Need:
1. one sheet of watercolor paper, any size you want (this is 11×15)
2. vintage jewelry pieces, knick-knacks, keys, buttons, etc.
3. paper punch (i used a butterfly punch from the martha stewart craft collection) (optional)
4. colored paper
5. hot glue gun
6. paint (i recommend spray paint)
7. frame


Instructions:
1. gather your pieces and make any paper punched shapes you want so you have all of your materials ready.
2. lay out your design on the paper. if you are not comfortable with freehand layout, sketch the shape on scrap paper and lay it down as a template. you can also trace it very lightly so you can erase it.
3. if you decide to paint everything, i recommend taking a digital photo of your layout so it will be easy to place back together.
4. paint your objects. if you use spray paint, do it outdoors on a piece of cardboard.
5. once dry, replace all your objects on the paper in your design and make sure your image is set out evenly on the paper.
6. pick up one object at a time and dab glue on the back. place back down and clean off any hot glue strands. you can also use a hairdryer to make them disappear (it works!).
7. once dry, frame your piece.
8. write a love note in the corner or on back of the piece and expect a great response for your beautiful work.

DIY photo lampshades

SUPPLIES:
* LAMPSHADE –  The simpler the shape of the lamp, the easier this project will be
* GLUE – I used a hot glue gun for the first lamp. I tried repositionable scrapbooking tape for the second, but that didn’t work as well. You could experiment with spray adhesive or other, more permanent scrapbooking type glues/tapes. If you choose to attach something to the inside of a lamp, you can just use tiny pieces of tape on the corners
* VELLUM – I buy this in packs of 20. I used clear vellum – but you could also buy tinted vellum for a different look.
* CRAFT KNIFE OR SCISSORS, PENCIL & RULER – to trim the vellum, I used a ruler and pencil to mark the cut lines & then used a craft knife and self-healing mat to cut the vellum. Scissors and a steady hand work too.
* PHOTOS
* PRINTER – I have a color inkjet printer. I believe you can also print on vellum with a laser printer.

If you are using photos – you wouldn’t have to do a collage. Next I printed the collage on the vellum.
Once the pages are trimmed, make sure they fit around the lamp the way you want them to. On the tall lamp I made, I had to tweak some of the edges because the lamp was a tiny bit bigger at the top than at the bottom.
Two important notes on the vellum (in case you’ve never worked with it before). Be careful not to bend it – because the vellum will crease & once it creases, a line will always be visible in that spot (this is the main reason I cut it with a craft knife – the less you have to handle it, the less chance of creasing it). Second thing to keep in mind – if the vellum is printed with and inkjet printer & the vellum ever gets wet – it will most likely smear.


How to make rainbow flowers

Step 1- Find some pretty white flowers.
 ( carnations work best! )
Step 2- With a sharp knife and a superhuman steady hand, split the end of the flower's stem into four sections and put each section in a different cup of colored water.
And Bam! 


You've just made some awesome rainbow flowers. 
Jun 12, 2011 |

Decorate with Paper

Romantic Roses

These whimsical paper roses adhered around the base of a simple white shade soften a geometric lamp and add a touch of charm. Sketch a circular swirl on drawing-weight paper (available at crafts stores). Cut to create a paper coil. Roll the paper tightly starting at the outside end of the coil. Release the coil slightly and hot-glue the end to retain the flower shape.


Creative Curtains

Create confetti curtains for your windows from cut paper. Cut out squares from different weights of paper with a die-cut punch or scissors. Sew the squares together, spacing regularly, to make a string as long as your window frame; tie knots at the top of each square and at the bottom of each string to secure. Hang each on a tension rod from curtain clips. These curtains are a great way to decorate a boring window without blocking out natural light. Get creative and use different colors for your garland depending on your room's color scheme or the season.


Pretty Tissue Flowers

These delicate petals create an elegant centerpiece whether scattered down the center of a table or piled on a platter. To create, cut a flower shape or 3-inch circles from eight layers of tissue paper. Place in a stack. Next, poke a hole through the stack with a pin. Pull the paper off the tip of a twist tie and insert the exposed wire through the paper layers. Twist the wire to create the flower center. Make the flower bloom by gently pulling up one layer at a time.


Lovely Lampshade Details

Exotic Oriental papers transform the neutral furnishings and blue walls of this apartment from bland to beautiful. The first project: Add glam to an inexpensive lampshade by attaching a wide band of colorful paper with glue. Smaller bands of paper around the top and bottom edges give it a finished look. Keep clicking for helpful how-tos for all the paper projects you see here.


On Paper

For a high-impact, low-cost wall art solution, frame pretty paper in simple black frames. Add interest to the display by choosing different yet coordinating paper patterns and varying the size of the picture frames
.


Mar 3, 2011 |

Black and White Home Update


Citrus green paired with black and white creates an energetic, modern environment, even when used with eclectic furnishings. Try hanging black-and-white papers in exciting patterns on a narrow magnetic board or bulletin board for an inexpensive and unstudied work of art.


Black trim adds sophistication to the playful blue beaded board walls in this entryway, but a graphic paint treatment on the door keeps it bold and fun. A neutral rug ties the look together without overwhelming the space.


Black and white makes an utterly graphic statement, so feel free to experiment with different pattern combinations. Punctuate the look with a few colored linens, like the pink napkins shown here.


Make a wall vase


Turn a shadow-box frame into a vessel for your favorite things from the garden or the florist.

Flowers or cuttings extend through the opening of a picture mat to create a vibrant and organic work of art that truly has a third dimension.

Group two or three frames on the wall or use one for a tabletop display. Change the background and cuttings for a new look each season.


Shadow-box frames and mats can be found at home or art-supply stores; floral pin frogs (spiked metal disks to keep cuttings in place) are available at floral-supply and craft shops.

You can line the back of the box with colored paper or fabric, or simply let the color of your wall shine through.


Materials

Each frame starts with a ready-made open-backed cube or shadow box deep enough to hold a small saucer. The measurements below are for the 10-by 10-in. cube shown below; adjust as needed to fit another cube size.

Picture mat with precut window (we used an 11- by 14-in. mat with a 3½- by 5½-in. window)
Wall cube or shadow box with mounting hardware (our cube, 10 by 10 in. and 6 in. deep, is from Target; $13) Ruler
Box cutter or utility knife
Sturdy cardboard (optional; our piece was 11 by 17 in.)
Colored paper or fabric (optional)
Glue stick (if using paper or fabric)
Transparent tape
Drill
Level
Screwdriver
Floral pin frog
Saucer deep enough to hold frog
Turkey baster for watering

The Live Book by Soo-Yeon Yang


Designer Soo-Yeon Yang has come up with a cool way to make your library come alive! The Live Book has a removable vase with a simple drainage system that actually opens up into a real book. I think with a little creativity we could try this at home!